IoT Based Weather Station Project
An IoT Based Weather Station using ESP8266 and sensors to measure temperature, humidity, pressure and rain live.
- C/C++, Python
- Arduino/Raspberry Pi
- PostgreSQL
- Remote setup included
See the project running first, then pay.
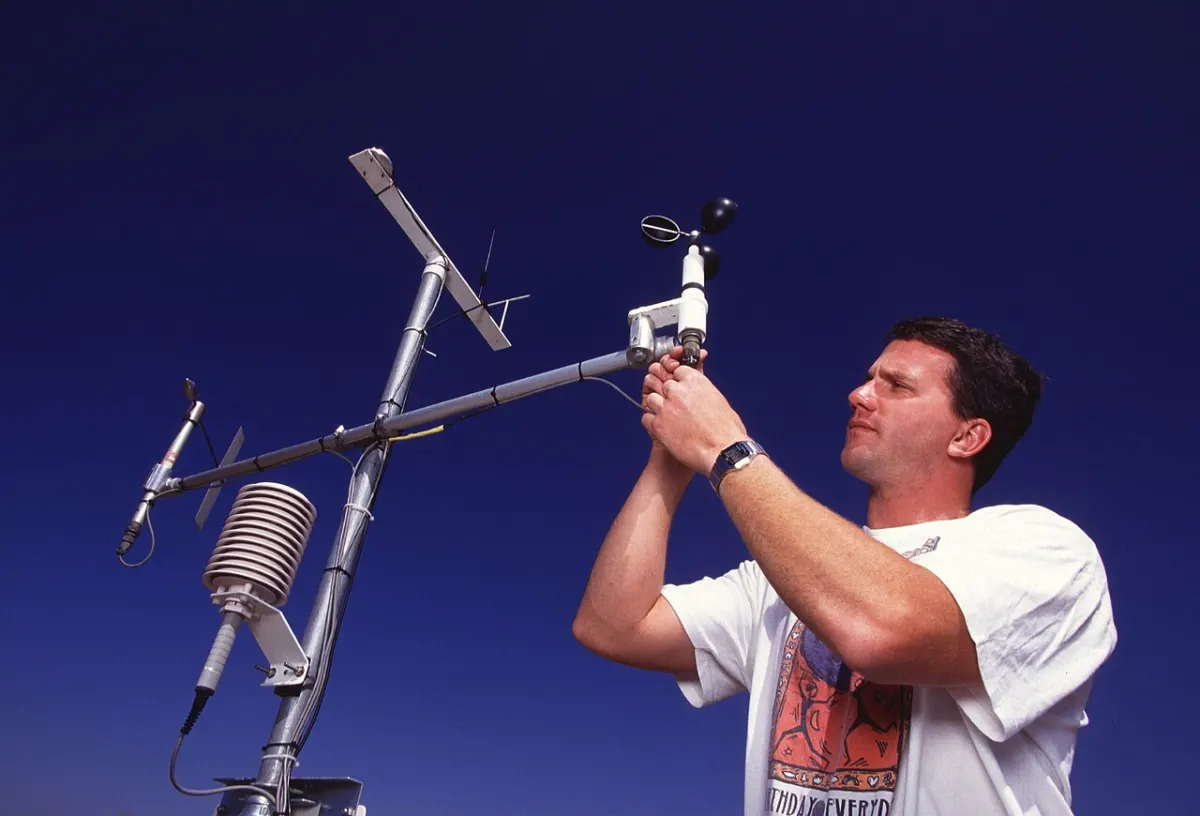
What is the IoT Based Weather Station?
The IoT Weather Station measures local weather and shows it online. Sensors such as DHT22, BMP280 and a rain sensor are connected to an ESP8266 board.
Readings are sent to ThingSpeak or a web dashboard every few seconds, with charts and history. Alerts can be sent for rain or high temperature. It is built with Arduino C/C++ and an IoT cloud dashboard.
Key Features
Main things you can do with the IoT Based Weather Station.
- Temperature and humidity (DHT22)
- Air pressure (BMP280)
- Rain detection
- Light intensity
- Live cloud dashboard
- History charts
- Weather alerts
- Solar power option
Project Modules
The project is divided into these modules. Each one has its own screens and tasks.
1Hardware
- ESP8266
- DHT22
- BMP280
- Rain sensor
2Firmware
- Read sensors
- Calibrate
- Upload data
- Sleep mode
3Dashboard
- Live values
- Charts
- History
- Download
4Alerts
- Rain
- Heat
- App notification
What You Get
Everything you need to submit, run and explain the project.
Complete Source Code
Full, working source code with clean folder structure and helpful comments. No locked or hidden files.
Database File
Ready-to-use PostgreSQL database with tables and sample data, so the project runs on day one.
Project Documentation
Full project report in Word and PDF: abstract, SRS, block diagram, circuit diagram, component list with cost, and working explanation, screenshots, testing and conclusion.
PPT Presentation
A 15–20 slide presentation for your seminar, review or final viva. Easy to edit with your name and college.
Remote Project Setup
We connect to your laptop with AnyDesk or Google Meet, install everything and run the project for you.
Project Explanation
A simple walkthrough of the code and flow, plus common viva questions, so you can explain it with confidence.
Project Documentation includes
- Certificate, acknowledgement and abstract
- Introduction, problem statement and objectives
- Existing system vs proposed system
- Software Requirement Specification (SRS)
- System design: block diagram, circuit diagram, component list with cost, and working explanation
- Module description and screenshots
- Testing and test cases
- Conclusion, future scope and references
PPT Presentation slides
- Title and team details
- Introduction and problem statement
- Objectives
- Existing vs proposed system
- System architecture
- Modules
- Technology used
- Screenshots / demo
- Advantages and future scope
- Conclusion
Tech Stack
| Part | Technology | Used for |
|---|---|---|
| Controller | Arduino Uno / NodeMCU (ESP8266 / ESP32) / Raspberry Pi | Reads sensors and controls devices |
| Language | C/C++, Python | Firmware and scripts |
| Cloud / App | Blynk / ThingSpeak / Firebase | Live data on phone or web |
| Storage | PostgreSQL | Stores sensor readings and logs |
Software and hardware requirements
- Arduino IDE (free) and USB cable for the board
- Hardware kit: board, sensors, modules and jumper wires (full list in documentation)
- Wi-Fi connection for IoT cloud features
- Laptop with Windows, macOS or Linux
How the IoT Based Weather Station Works
Sense
Sensors read real-world values like temperature, gas, motion or distance.
Process
The microcontroller checks the values against set limits.
Act
It turns on a buzzer, relay, motor or LED when needed.
Notify
Live data and alerts are sent to a phone app or web dashboard.
Remote Project Setup Guidance
Not sure how to run it? We set up the project on your laptop over AnyDesk or Google Meet. No need to visit us.
-
1
Share your detailsTell us your laptop type (Windows / Mac) and a time that suits you.
-
2
Install AnyDeskInstall free AnyDesk (or join Google Meet) and share the access code.
-
3
We set it upWe install the required software, import the database and configure the IoT / embedded project.
-
4
Test togetherWe run the project in front of you and check every main feature.
-
5
Understand itWe explain the code, flow and database so you are ready for your viva.
- Install Arduino IDE and add the ESP8266 / ESP32 board package if needed.
- Connect all parts as shown in the circuit diagram in the documentation.
- Install the libraries listed in the code comments using the Library Manager.
- Enter your Wi-Fi name, password and cloud keys in the code, then click Upload.
- Open the Serial Monitor or the mobile dashboard to see live data.
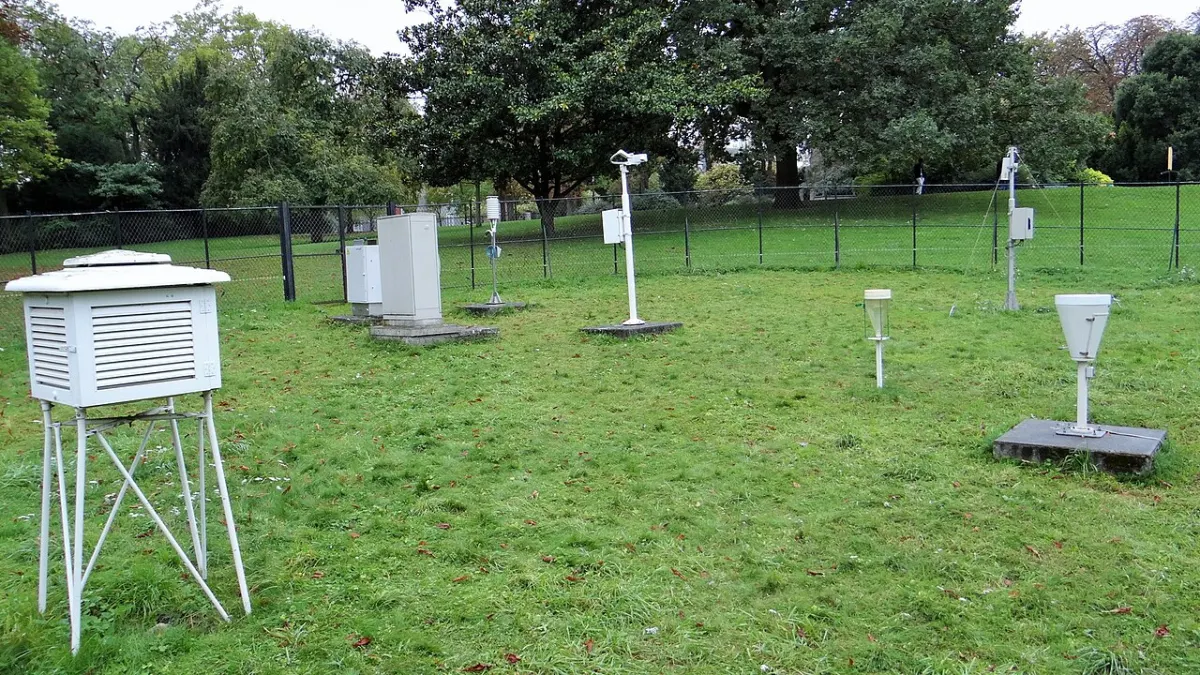
IoT Based Weather Station Images
What You Will Learn
Frequently Asked Questions
Project Details
Available- ProjectIoT Based Weather Station
- TypeMajor Project
- CategoryIoT/Embedded
- LanguageC/C++, Python
- FrameworkArduino/Raspberry Pi
- DatabasePostgreSQL
- DocumentationReport + PPT
- SetupRemote help
- DeliverySource Code + Documentation